Business Topics
Discover how switching to battery-powered hardscape equipment can enhance sustainability, reduce operating costs, and boost your business performance.
The best hardscape contractors know that a paver project doesn’t start when the first stone is laid – it starts under the surface. A solid base is the key to strength, longevity, and performance on a project. Over the years, more contractors have turned to open-graded base construction as it ensures superior drainage, faster installation times, and long-term reliability. In this guide, we’ll walk you through how to properly build an open-graded base that sets the stage for a successful Unilock paver installation.
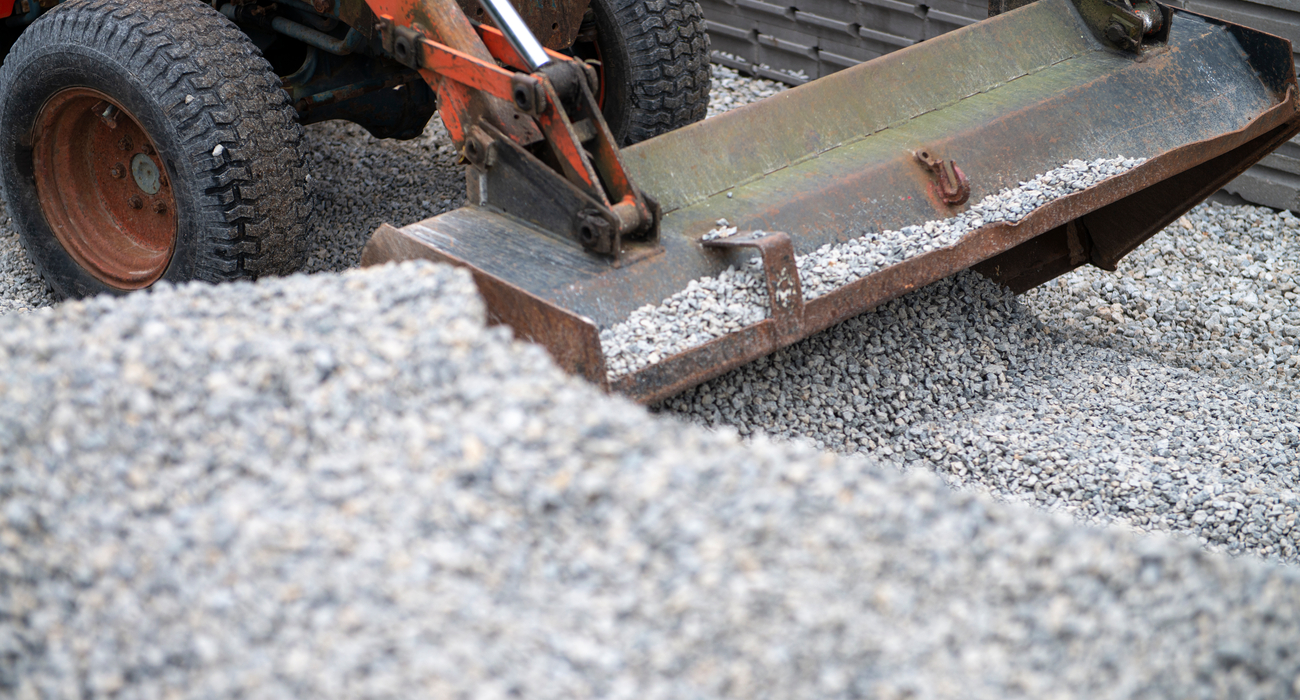
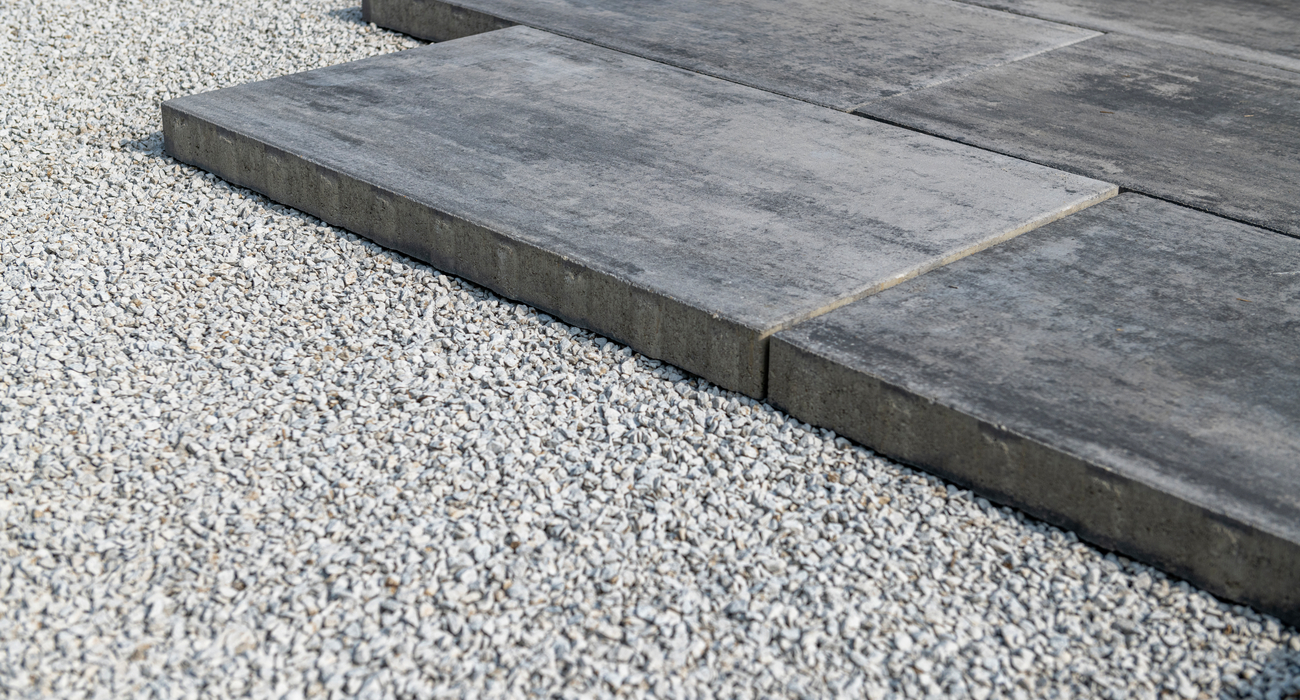
The best material to use for building your open-graded base is ¾” angular clear stone gravel – commonly known as ASTM #57. Unlike traditional base materials that contain sand fines, ASTM #57 is free of silts and sands. This allows the material to drain water freely, reducing the risk of puddling, water retention, and freeze-thaw damage. Its angular shape helps the stones interlock more effectively, making compaction faster and more efficient. Even without the binding effect of sand fines, this open-graded base material delivers the structural strength you’d expect from a traditional base.
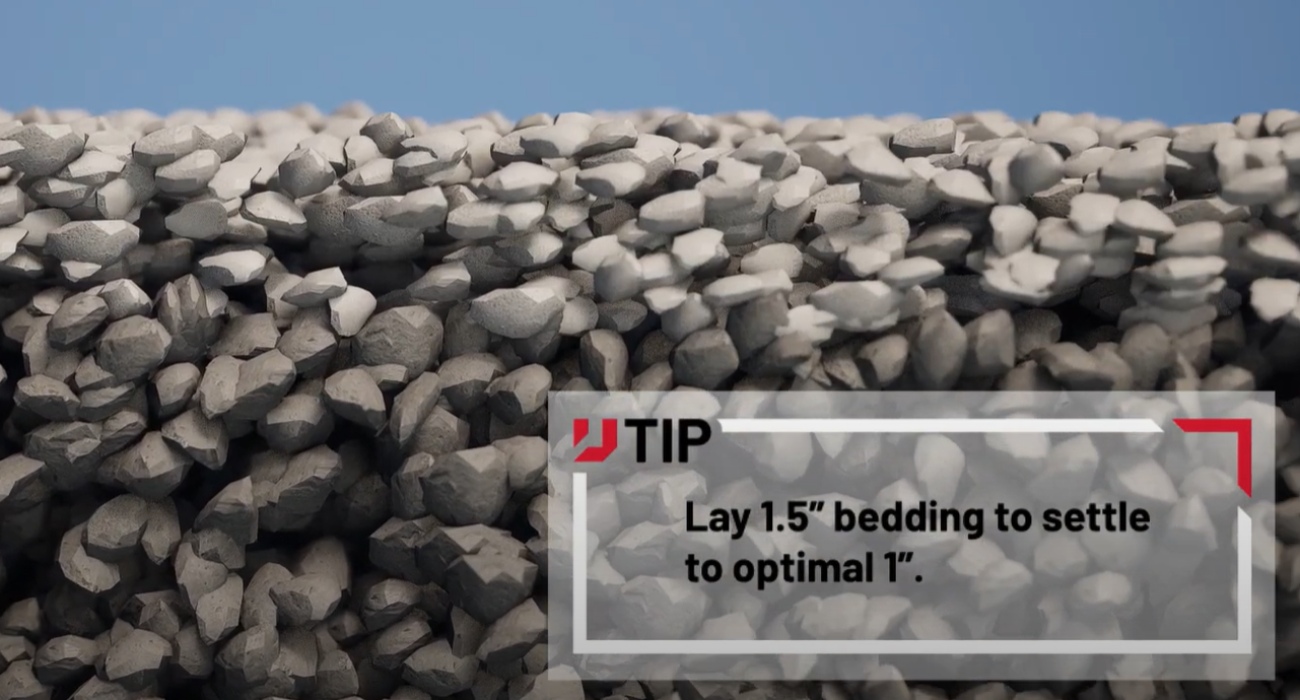
To match the drainage performance of the base layer, a 1” bedding layer of ASTM #8 or #9—also known as High Performance Bedding (HPB)—is installed on top. These clear-graded angular stones range in size from 1/8” to ¼” and contain no sand fines, further enhancing water flow.
Now that you’ve selected the proper base material, it’s important to ensure you have the right tools and equipment to install it properly. Here are the tools we recommend:
With your base materials and tools ready, let’s dive into the steps for building your open-graded base:
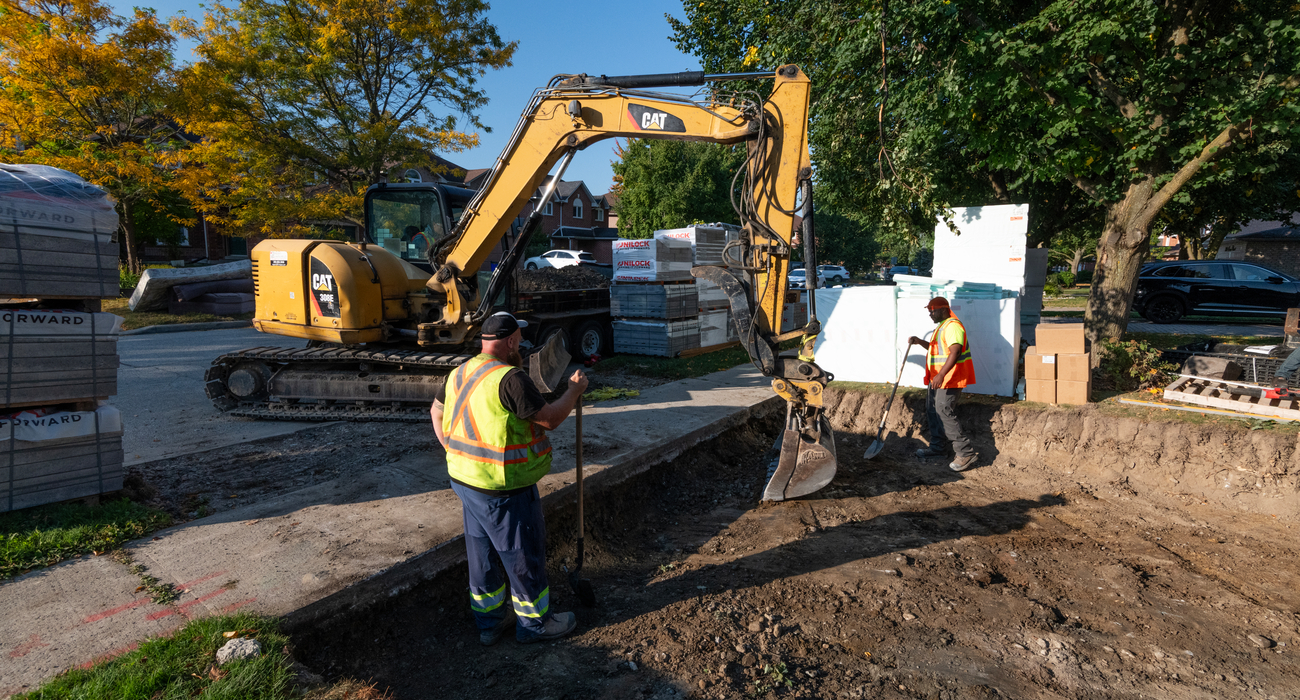
Step 1: Excavate the subsoil using your mini excavator. The depth of your excavation will vary depending on the application, soil conditions, project slope, and the thickness of the pavers being installed. For example, patios and walkways typically require excavation to a depth of 10–12″, while driveways may need to go even deeper, between 14–16″. As you dig, be sure to account for an over-dig of approximately 6–12″ to prevent edge settlement. Once you’ve excavated to the appropriate depth, compact the loose subsoil using a vibratory plate compactor.
Step 2: Add a layer of geotextile filter fabric on top of your compacted subsoil. This will help prevent any soil or fine particulates from infiltrating and clogging the clear stone base. Make sure to extend the fabric far enough to wrap around the base material after installation.
Step 3: Lay down Unilock DriveGrid™ on top of the subsoil. This geogrid helps stabilize the base and prevent the aggregates from shifting laterally over time.
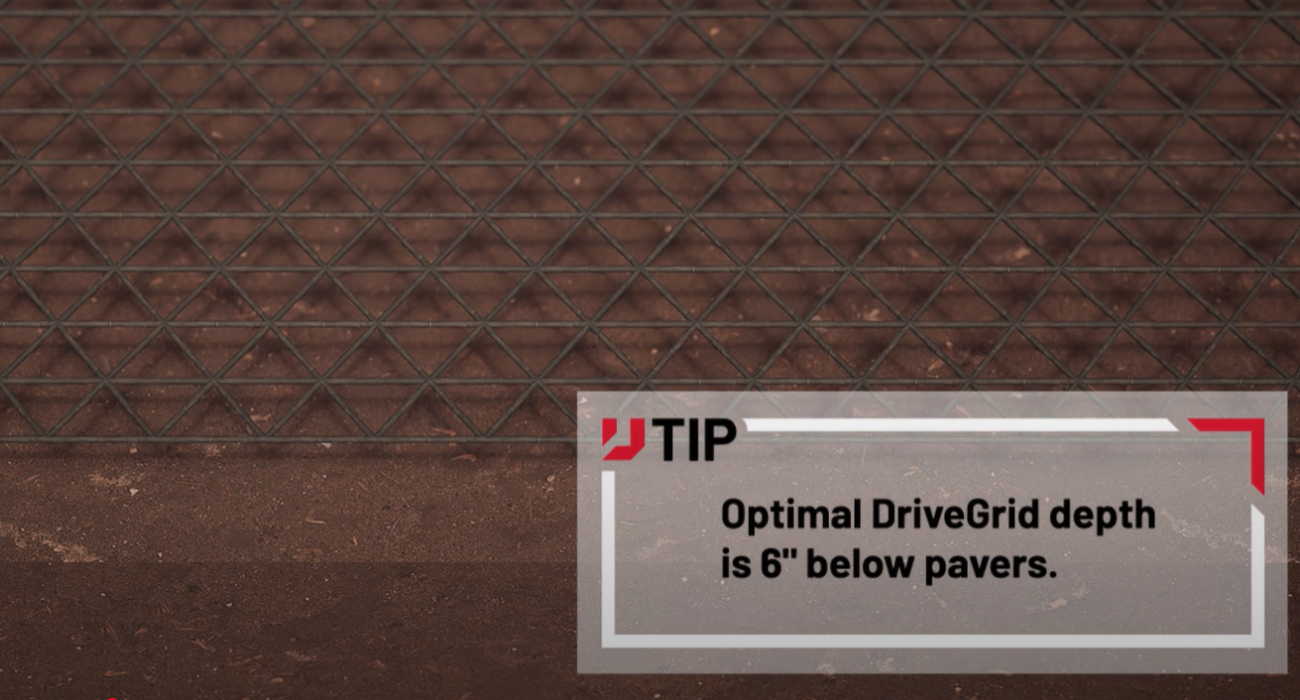
Step 4: Add your ¾” angular clear stone gravel (ASTM #57) over the DriveGrid. Unlike traditional base materials, this type of stone compacts faster and more efficiently, allowing for 6” + lifts at a time. The result is fewer passes and significantly less time and labor spent on compaction.
Step 5: Place two 1” outside-diameter pipes directly onto your compacted base material. Once in place, use a rake to spread a 1 ½” layer of ASTM #8 or #9 clear-graded angular stone. Next, use a straight board, aluminum bar, or wide-screed rake to smooth out your bedding material over the pipes. Once you’ve reached the correct height, carefully remove the pipes and fill in the grooves with the clear angular stone, gently smoothing the surface with a trowel. Avoid stepping on the final screeded layer to maintain a stable, level foundation for your pavers.
Step 6: Once the bedding course is ready, install your selected Unilock pavers according to the project’s design.
Step 7: After your pavers are in place, it’s time to install the edge restraint. For open-graded base installations, a modified concrete edge restraint is recommended around the perimeter. Standard plastic edging isn’t ideal, as an open-graded base doesn’t compact like traditional materials and may cause the edging to shift over time.
To install your concrete edge, use a trowel to carefully screed away the bedding layer and expose the base along the perimeter. Apply mixed concrete along the edge, gently shaping it into a wedge and tucking it beneath the pavers. Form the edge to roughly 1/3 the height of the pavers, keeping a consistent 45-degree angle for support.
Step 8: Apply polymeric or resin sand between the paver joints, filling them until the sand sits approximately 1/8” below the rounded or beveled edge of the pavers.
Step 9: Perform the final compaction to set your pavers firmly into the bedding layer. This also drives the polymeric sand deeper into the joints, locking everything in place.
There you have it—a complete open-graded base and paver installation built for optimal drainage and long-term strength. If you have any questions about your installation or need help with site-specific details, your Unilock Territory Manager is just a call away. To see the full open-graded base process in action, check out our tutorial video on YouTube.
Contact [email protected] or please fill out the form below with details about the issue.
Veuillez appeler le 1-800-Unilock ou contacter l'un de nos responsables de territoire.


