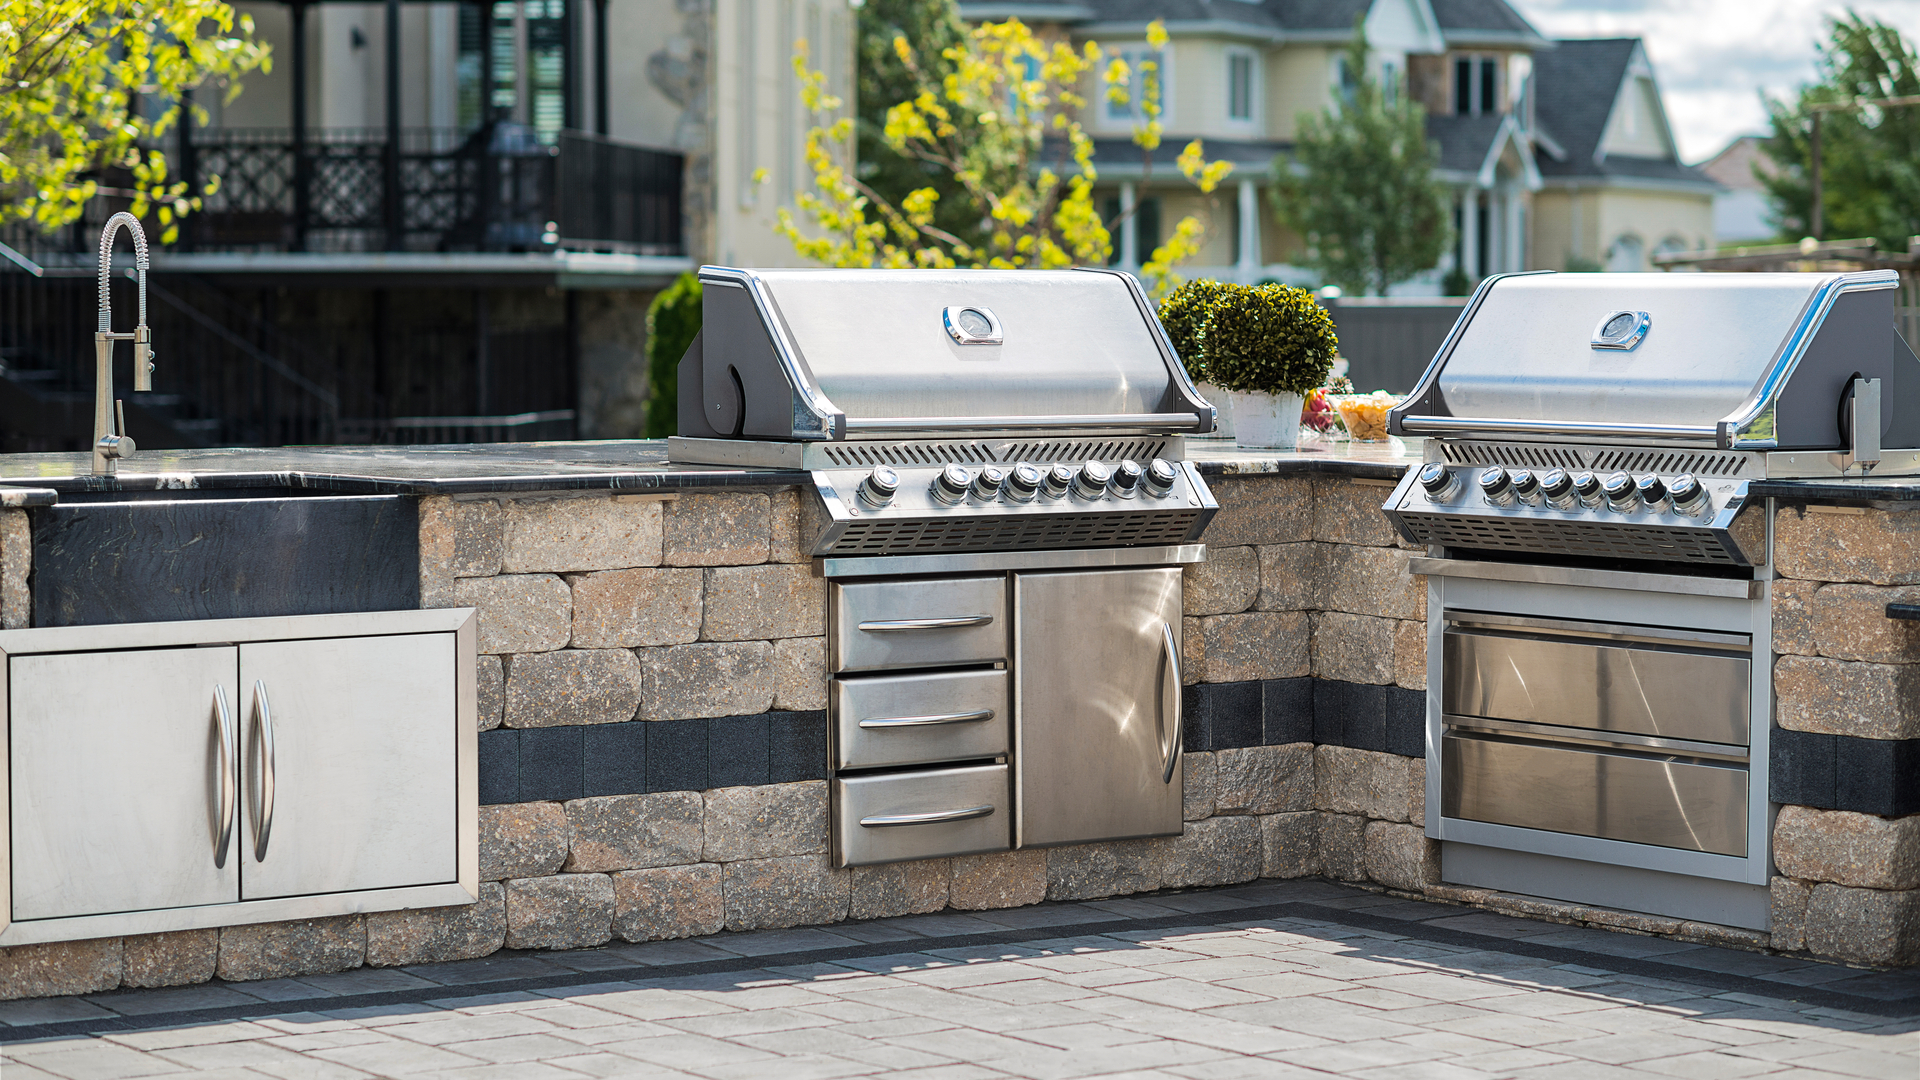
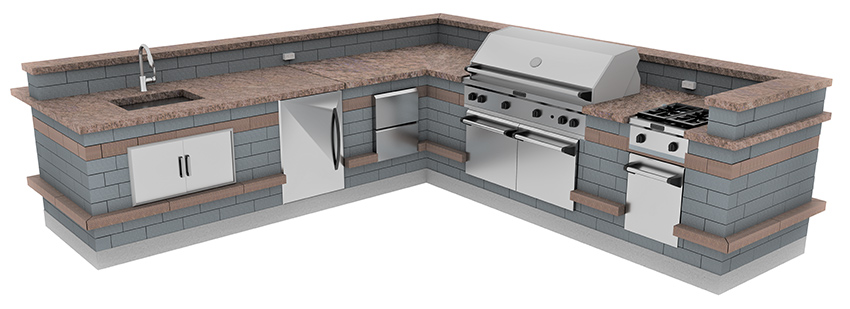
The timeline can vary depending on the complexity of the design and the size of the project, as well as your schedule and timing, which you will discuss with your client. This includes time for design approval, material delivery, base preparation, and construction, and final clean-up, ensuring a well-crafted outdoor kitchen that meets expectations.
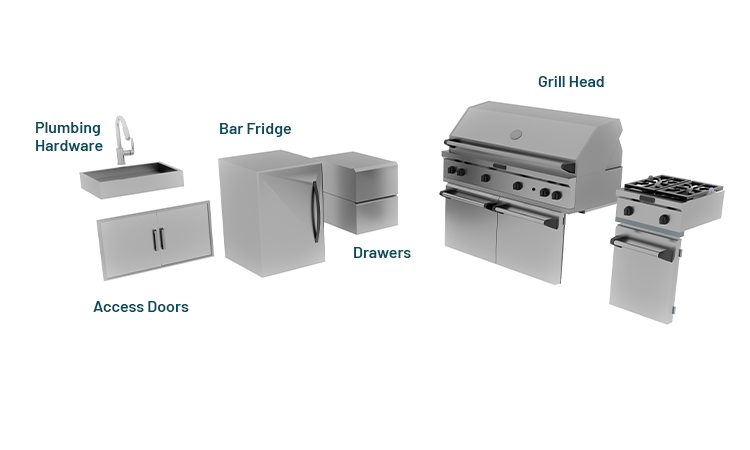
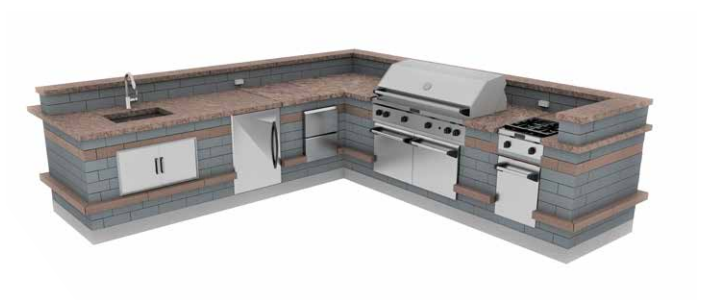
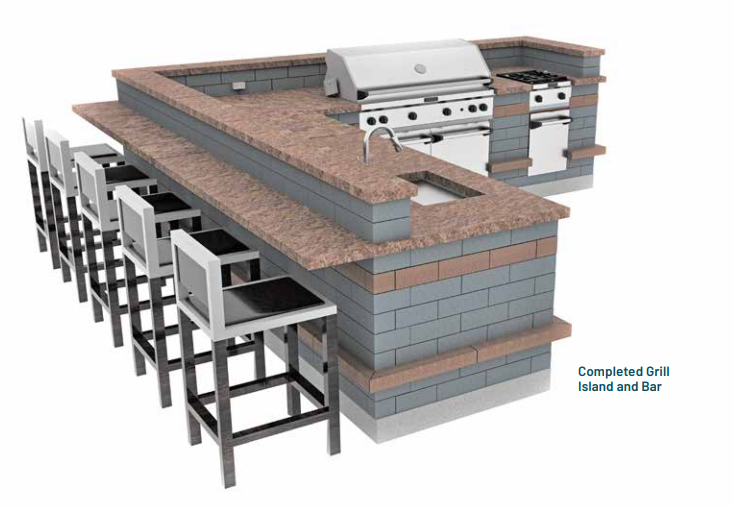
Alternatively, you can opt for the U-Cara® Modular System, which can help save both time and labor. These aluminum-framed cabinets allow for the construction of features like bar and grill islands, columns, and more in just a few hours, compared to several days with traditional materials.