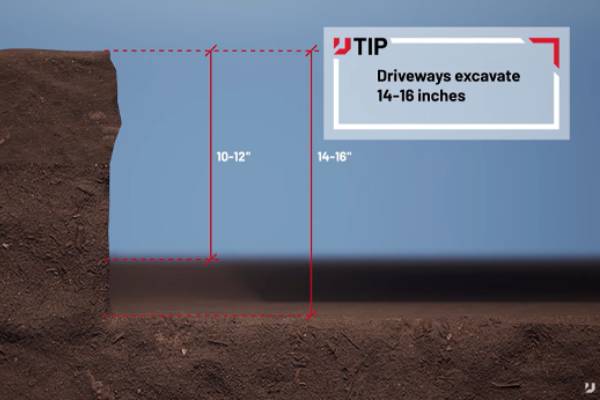
7. How to Lay Paver Base and Bedding Layer Properly
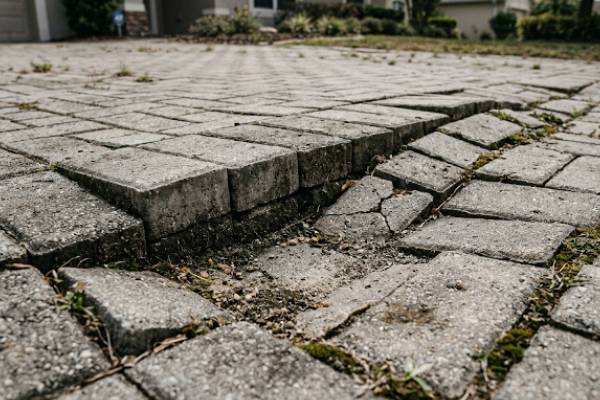
One of the most critical steps in the process is learning how to level paver base correctly. Even small inconsistencies can lead to visible imperfections and long-term issues.
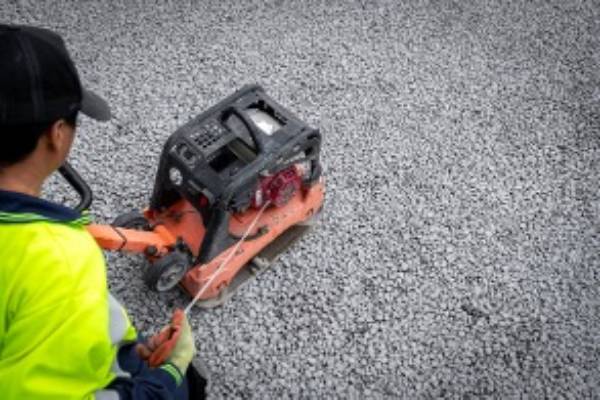
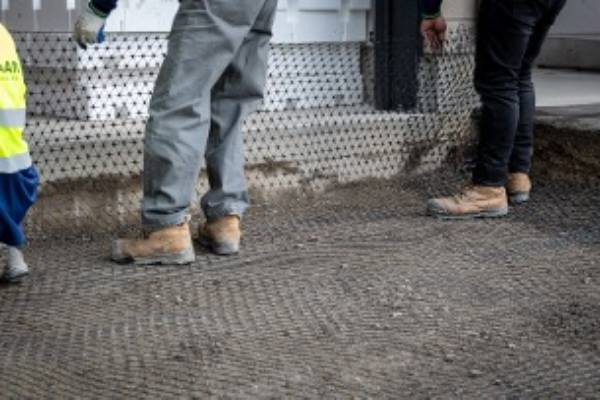
Crews typically use tools like laser levels or Unilock U-Level, string lines, and screed pipes. The bedding layer is carefully smoothed using a straightedge, ensuring a consistent and even surface. This step requires patience, as any irregularities will be reflected in the final installation.
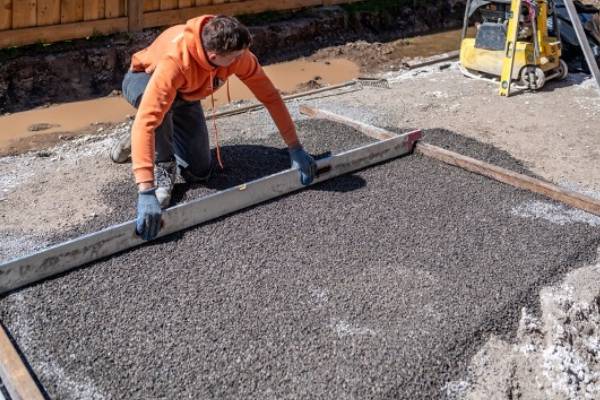
How to Lay Paver Base and Bedding Layer Properly
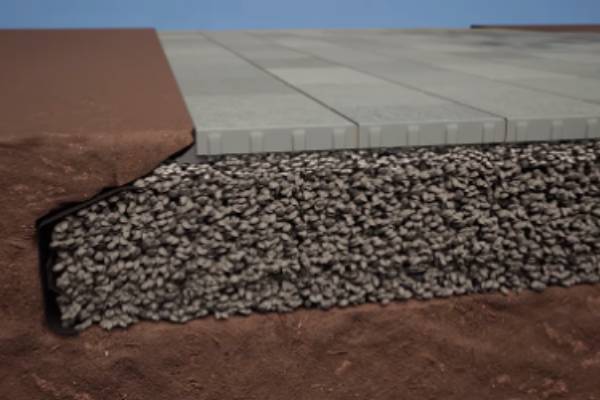
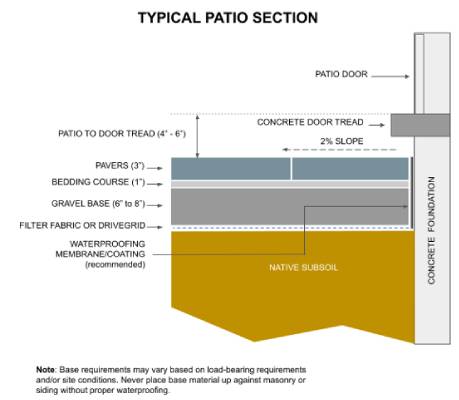
Understanding how to lay paver base includes mastering the bedding layer, which acts as the final section between the base and the pavers.
The screeded layer should remain thin—generally no more than one inch—to prevent shifting. While traditional installations often rely on coarse sand, due to their durability and ability to perform in wet conditions.
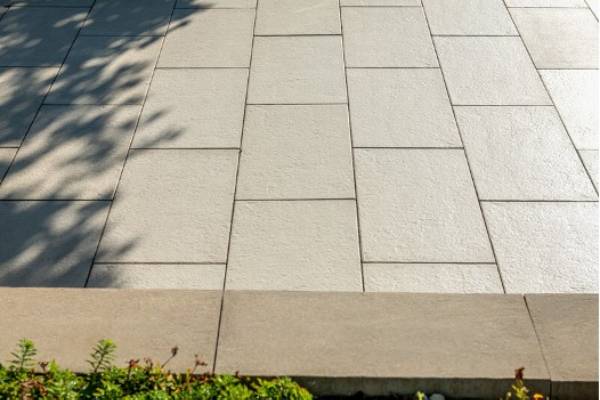
Once the bedding layer is prepared, pavers are placed carefully to avoid disturbing the surface. Edge restraints are installed to secure the perimeter, and jointing material is added between the pavers to lock the system together.
A final compaction step helps everything settles into place, creating a stable and cohesive surface.